 Firefox
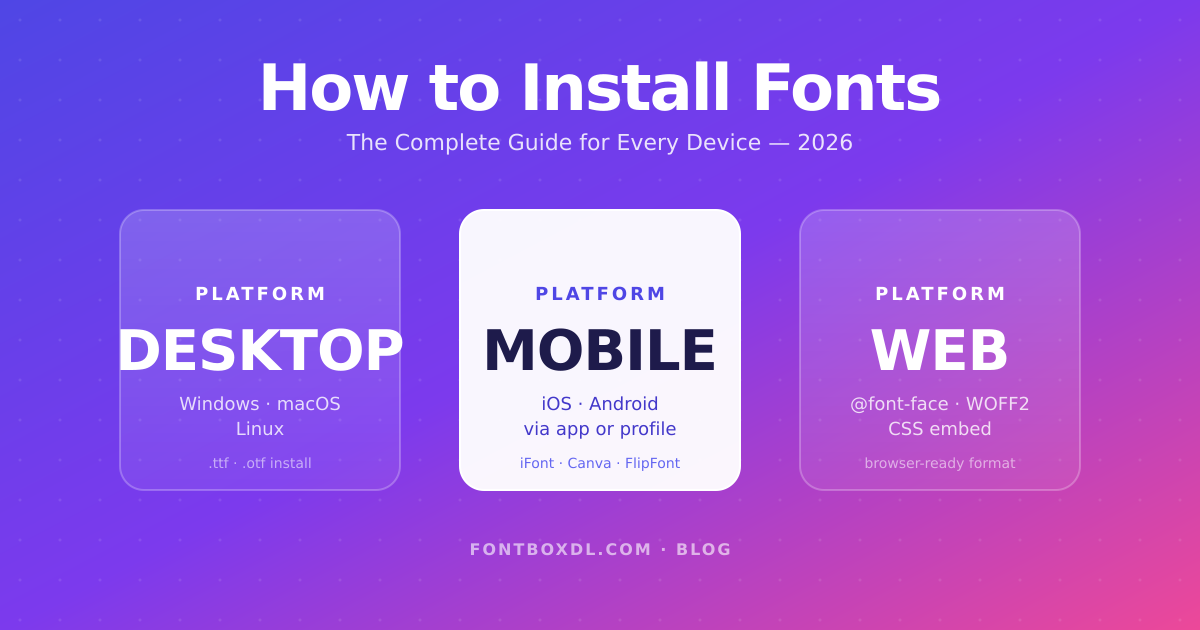
You've found the perfect font and downloaded the file — but now what? Whether you're staring at a .zip on Windows, a .otf in Finder on a Mac, or wondering if you can even use custom fonts on your phone, this guide walks you through every step.
By the end, you'll know exactly how to install fonts on any device, troubleshoot common errors, and use your new typefaces in apps like Microsoft Word, Photoshop, Canva, and Figma. We'll cover Windows, macOS, Linux, iOS, and Android — plus the right way to use fonts on a website, which is a different process most guides skip over. Let's get started.
Before You Start: Unzip and Check the Format
Most fonts download as a .zip archive. Inside, you'll usually find one or more files ending in .ttf, .otf, or both. If you're not sure what those mean, our guide on OTF vs TTF vs WOFF2 breaks it down — but for installation, the short version is: both work everywhere, OTF just supports more typographic features.
Right-click the .zip and choose "Extract All" (Windows) or simply double-click it (macOS). You'll need the unzipped font files for the rest of this guide.
How to Install Fonts on Windows 10 and 11
Windows makes installation almost trivial. Open the folder containing your unzipped font, then:
- Right-click the .ttf or .otf file
- Choose Install (installs for your user) or Install for all users (requires admin)
- Wait a few seconds — that's it
If you're installing dozens of fonts at once, select them all, right-click, and use Install. Windows handles the batch silently. The font appears immediately in Word, PowerPoint, and any open Adobe app after a restart.
To uninstall later, open Settings → Personalisation → Fonts, click the font, and hit Uninstall.
How to Install Fonts on macOS
On a Mac, every font passes through Font Book — Apple's built-in font manager. There are two ways to install:
- Quick install: double-click the .ttf or .otf file. A preview window opens; click Install Font.
- Bulk install: open Font Book, then drag your font files into the All Fonts list.
By default, fonts are installed for the current user only. To make them available to everyone on the machine, in Font Book go to Settings → Default Install Location → Computer before installing.
Font Book also validates each file. If a font is broken or duplicated, you'll see a warning — pay attention to these, especially when installing free fonts in bulk like our free font collection.
How to Install Fonts on Linux
Linux gives you the most flexibility but the least hand-holding. The universal method works on Ubuntu, Debian, Fedora, Arch, and most other distros:
- Copy your .ttf/.otf files to
~/.local/share/fonts/(user only) or/usr/share/fonts/(system-wide) - Run
fc-cache -fvin a terminal to refresh the font cache - Restart any running applications
GNOME and KDE also include double-click font installers. On GNOME, double-clicking a .ttf opens Font Viewer with an Install button; on KDE, the file manager handles it through System Settings.
How to Install Fonts on iPhone and iPad (iOS)
iOS doesn't allow direct font drops like a desktop OS. Instead, fonts are installed as configuration profiles. The easiest path:
- Install a free app like iFont or AnyFont from the App Store
- Use the Files app to import your .ttf or .otf into the app
- Tap Install — iOS will prompt you to approve a profile in Settings → General → VPN & Device Management
Once approved, the font becomes available system-wide in apps that support custom typography: Pages, Keynote, Word, Procreate, Affinity, and Adobe mobile apps. Note that some apps still hard-code their font lists and won't pick up custom installs.
How to Install Fonts on Android
Stock Android still doesn't support system-wide custom fonts without root, but most popular creative apps allow per-app installation. For example:
- Canva, PicsArt, and Phonto let you import .ttf or .otf files directly from local storage
- Samsung Galaxy phones support custom fonts via the FlipFont system — install via the Galaxy Store or sideload
- For root users, copying fonts to
/system/fonts/works but isn't recommended
If you mostly design on your phone, it's faster to grab a script font like Mother Caramel or a bold display piece like American Captain, drop it into Canva, and skip system-level install entirely.
Using Your Fonts in Specific Apps
Once installed system-wide on Windows, macOS, or Linux, fonts automatically appear in:
- Microsoft Word, PowerPoint, Excel
- Adobe Photoshop, Illustrator, InDesign (restart the app first)
- Affinity Designer, Photo, Publisher
- Figma desktop (the web version has its own font manager)
- Procreate (via iOS install)
Some apps cache their font menu and need a restart. If a freshly-installed font doesn't show up, close and reopen the app first before troubleshooting anything else.
Using Fonts on a Website (Web Fonts)
Installing a font on your computer does not make it appear on your website. Visitors don't have the font installed, so you need to embed it as a web font.
The standard approach is CSS @font-face with a .woff2 file — the smallest, fastest format for browsers. To convert any .ttf or .otf into an optimised .woff2 (plus the CSS snippet you need), use our free webfont generator. It runs in your browser, no upload required, and outputs a ready-to-paste CSS block.
If you're picking a font specifically for the web, look for one with a friendly licence and a clean character set. Many of the typefaces in our script & handwritten collection work brilliantly as headline web fonts — try Sunny Oasis or Afrasty for a high-impact hero.
Troubleshooting Common Issues
"This font is not installable" — usually means the file is corrupted or you've downloaded a preview rather than the full font. Re-download from the original source.
Font doesn't appear in my app — close and reopen the app. If it still doesn't show, check whether you installed for "current user" only on a managed or work computer (you may need admin rights).
Font shows boxes or wrong characters — the font may not include the language or symbols you're typing. Many decorative fonts only ship with basic Latin glyphs. For wider language coverage, check our decorative fonts category or filter for fonts with extended glyph sets.
Duplicate font warnings — Font Book on macOS flags these. Disable the duplicate rather than deleting; you can always re-enable later.
Permission denied on Linux — if you copy files to /usr/share/fonts/ you need sudo. For a per-user install no sudo is needed, just make sure ~/.local/share/fonts/ exists first (mkdir -p).
A Quick Note on Font Managers
If your collection grows past 50 or 100 fonts, the built-in installers start to feel cluttered. Dedicated font managers like FontBase (free, cross-platform), RightFont (macOS), or NexusFont (Windows) let you preview, tag, and activate fonts on demand without installing every single one system-wide. They're especially useful for designers juggling client projects with different brand kits.
For most people, though, the native installer is plenty. Only reach for a manager once your font folder genuinely becomes hard to navigate.
Final Checklist
- Unzipped the font files
- Used the right install method for your OS
- Restarted any open creative apps
- For web use, converted to .woff2 with our generator
That's it. Whether you're working on a logo with a heavy display face like Dragon, a wedding invitation with elegant script, or a website with a custom hero font, the process is the same on each platform — and now you've got a reference for every step.